
Are you ready to go bananas? 🍌
Get ready to crochet your very own beaming banana amigurumi! This fun and easy pattern is perfect for beginners and will add a touch of sunshine to your day. With its bright yellow colour and playful shape, this crocheted fruit is sure to bring a smile to your face.
Whether you're crafting for kids or preparing for a craft fair, this banana crochet pattern is a great project to try. It's a quick make and uses minimal supplies, so you can whip up a bunch in no time! You can even add some fun details like eyes and a smiley face to give your banana a personality of its own.
So, let's get started on this shortcut crochet idea and bring some fruity fun into your life!
What You'll Learn
![]()
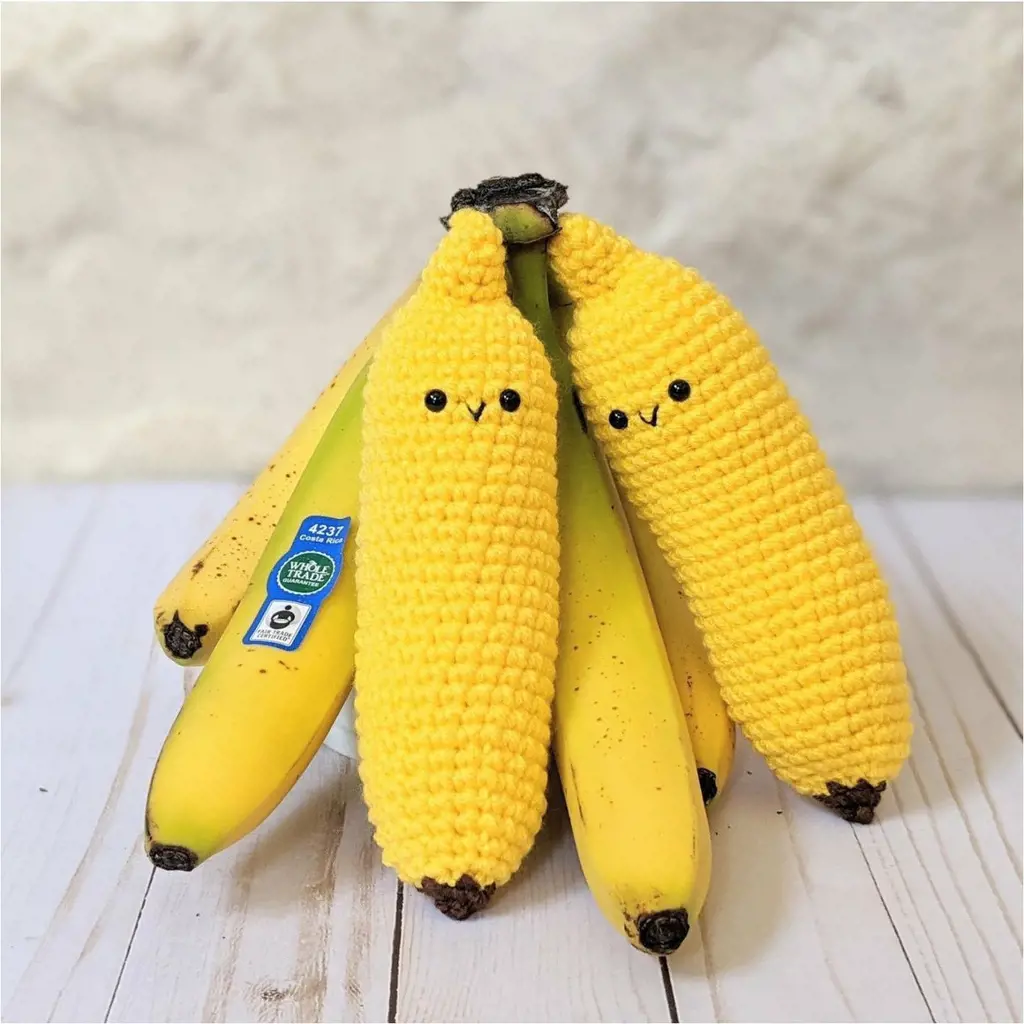
Crochet a banana with a removable peel, about 7 inches long

To crochet a banana with a removable peel that is about 7 inches long, you will need yarn in dark brown, light green, yellow, and white colours. You will also need a crochet hook, preferably a 3.00 mm / US C hook for DK weight yarn or a 4 mm hook for Aran/Worsted weight yarn.
The pattern for crocheting the banana is as follows:
Start with dark brown yarn. We are crocheting from the bottom of the banana up in continuous rounds.
Round 1: Start with 6 to 8 single crochet stitches in a magic circle.
Round 2: Single crochet in the next stitch, then increase in the next stitch. Repeat this 3 to 4 times.
Switch to light green yarn.
Round 3: Single crochet in all stitches.
Round 4: Single crochet in the next 2 stitches, then increase in the next stitch. Repeat this 4 times.
Round 5: Single crochet in the next 3 stitches, then increase in the next stitch. Repeat this 4 times.
Round 6: Single crochet in the next 4 stitches, then increase in the next stitch. Repeat this 4 times.
Switch to yellow yarn.
Rounds 7 to 26 or 20: Single crochet in all stitches.
Tip: Now is a good time to start stuffing the banana.
Rounds 27 to 37: Increase in the next stitch, single crochet in the next 9 stitches, then decrease twice. Single crochet in the next 9 stitches, then increase in the next stitch.
Switch to white yarn.
Rounds 28 to 38: Repeat the previous round.
Tip: Now is a good time to completely finish stuffing the banana. Fit as much stuffing in, but the stitches should not stretch so that the stuffing shows.
Rounds 39 to 40: Decrease 6 times.
Fasten off, leaving a short yarn tail. Sew the yarn tail into the front loop of all 6 stitches, tighten, and secure the yarn tail by sewing it into the banana.
The banana peel is crocheted in rows, not rounds.
Attach yellow yarn to the first stitch of the last yellow round.
Row 1: Single crochet 8 stitches in the front loop only, chain 1, then turn.
Row 2 to 10: Repeat Row 1.
Row 11: Decrease, single crochet 4, decrease, chain 1, then turn.
Row 12: Decrease, single crochet 2, decrease, chain 1, then turn.
Row 13: Single crochet 4, chain 1, then turn.
Row 14: Decrease twice, chain 1, then turn.
Repeat the above pattern for the second and third banana peels, attaching the yarn to the corresponding stitches on the last yellow round.
To finish the banana peel, single crochet around all three peels in one go, then fasten off and sew in any yarn ends.
You have now completed the crocheted banana with a removable peel!
Crafty Crochet: Exploring Pincushion Patterns and Designs
You may want to see also
![]()
Use any yarn, but cotton is washable, soft, and doesn't sag

Cotton yarn is a popular choice for knitting and crochet projects. It is soft, washable, durable, and gets softer with use and washing. It is also hypoallergenic, making it a great option for those with wool allergies or sensitive skin. Cotton is a natural fibre that is grown and produced all over the world, with China, India, and the United States being the biggest producers.
When choosing cotton yarn for your projects, it is important to consider both the advantages and disadvantages of this fibre. On the positive side, cotton is lightweight, breathable, comfortable to wear, and easy to dye. It is also strong, durable, and machine-washable. Cotton yarn typically holds together well and does not pill, making it a good choice for projects that will be used frequently. Additionally, cotton becomes softer with use and washing, so your projects will become even more comfortable over time.
However, there are some drawbacks to using cotton yarn. It can be slippery to work with and may cause hand strain for some crafters. Cotton also has no natural elasticity, so it may be difficult to achieve a form-fitting garment. Cotton holds water well and gets heavy when wet, so projects made with cotton can stretch and sag over time. Darker colours of cotton yarn may also bleed when washed, so it is important to swatch and test your yarn before beginning a project.
Despite these disadvantages, cotton yarn is a versatile and popular choice for many crafters. It is important to choose the right projects for this fibre and to be aware of its limitations. With the right care, your cotton projects will last a long time and provide comfort and style.
Create a Beautiful Crochet Rainbow Spiral Doily Suncatcher for Stunning Home Decor
You may want to see also
![]()
For a mini crochet banana, use a 2.5-3.5mm hook and fine yarn
To make a mini crochet banana, you'll need a crochet hook and some fine yarn. The hook size will determine the size of the yarn loops in your crochet fabric. For a mini banana, a small hook is best. A 2.5-3.5mm hook will work well for this project.
When choosing your yarn, look for something that's labelled as a fine yarn. The yarn weight is usually indicated on the label, with a number from 0 to 6. You'll want to choose a yarn that's labelled as a 2 or 3. This will give you a nice, thin yarn that will work well with your small crochet hook.
Once you have your hook and yarn, you can start crocheting your banana! You'll work in continuous rounds, without joining after each round. This will give your banana a seamless look. Start by stitching 6 single crochet stitches into a magic circle. Then, you'll increase the number of stitches in each round to shape the banana. When you've reached the desired length, you'll decrease the stitches to close up the end.
To add details to your banana, like the peel and stem, you can switch up your yarn colours. Try using brown and green yarn for a realistic look. You can also stuff your banana as you go to give it a 3D shape.
Remember, the most important thing is to have fun and be creative! You can add your own touches to your crochet banana to make it unique. Happy crocheting!
Classic Elegance: Enhance Your Home with Brown Crochet Doilies
You may want to see also
![]()
Make banana-shaped earrings with crochet thread and a 1.25-1.5mm hook

Banana-shaped earrings can be a fun and unique accessory to make and wear. Here is a step-by-step guide to making your own pair of banana-shaped earrings using crochet thread and a 1.25-1.5mm hook:
Materials Needed:
- Crochet thread in yellow and green colours
- Crochet hook in size 1.25-1.5mm
- Earring hooks
- Scissors
- Tapestry needle
- Jump rings (optional)
- Jewellery pliers (optional)
Instructions:
- Begin by cutting two strands of yellow crochet thread, each about twice the length of your desired earring size.
- Fold one strand in half and attach it to your crochet hook using a slip knot.
- Chain stitch until you reach the desired width of the banana.
- Single crochet into the second chain from the hook and each subsequent chain across.
- Chain one and turn your work.
- Single crochet into the first stitch and each stitch across.
- Repeat steps 5 and 6 until you have created a rectangular shape that forms the body of the banana.
- Cut the thread, leaving a tail for sewing.
- Using the tapestry needle, sew the sides of the rectangle together to create a tube shape.
- Stuff the tube lightly with cotton or fibre fill to give it a three-dimensional shape.
- Sew the top of the banana closed.
- Cut a small amount of green thread and attach it to the top of the banana with a slip knot.
- Chain stitch to create the stem of the banana.
- Fasten off the green thread and weave in the ends securely.
- Repeat steps 1 to 14 to create the second earring.
- Attach an earring hook to the top of each banana using a jump ring or by directly attaching it to the crocheted chain at the top. You can use jewellery pliers to open and close the jump rings if needed.
Your banana-shaped earrings are now ready to wear! You can adjust the size of the bananas by increasing or decreasing the number of chain stitches in step 3. Feel free to add additional details, such as beads or embroidery, to personalise your earrings further.
Hooked on Beauty: Exploring the Art of Crochet with Creative Ideas
You may want to see also
![]()
Add eyes and a smile to give your banana a face

Adding eyes and a smile to a banana is a fun and creative way to bring some cheer to your day. It's a simple task that can be done in a few different ways, depending on the materials you have at hand. Here are some ideas to get you started:
One option is to use markers or pens. Simply grab a black marker or pen and carefully draw two eyes and a curved smile onto the banana. You can play around with different eye shapes and sizes to give your banana a unique expression. This method is quick, easy, and mess-free.
If you're feeling more creative and want to add some colour, you could use stickers or craft supplies. Craft stores often sell colourful stick-on eyes and mouths that can be easily adhered to the banana's surface. You could also cut out eye and mouth shapes from construction paper or cardstock and glue them on. This method is especially fun for kids and can be a great activity for baby showers or scrapbooking.
For a more textured look, you could use yarn or pipe cleaners. Cut small lengths of black yarn or pipe cleaners and carefully stick them onto the banana to form eyes and a smile. This 3D effect can add a playful touch to your banana's face.
If you're looking for a digital option, you can use graphic design software or vector illustration programs to create a smiling banana character. This method offers endless customisation options and is perfect for creating digital artwork, emojis, or even printing onto stickers.
No matter which method you choose, adding a face to your banana is a fun and lighthearted way to express your creativity. It's a simple way to bring a smile to your own face and those around you, and it might just be the cheerful touch that someone needs to brighten their day.
The Perfect Finishing Touch: Beautiful Crochet Borders for Doilies
You may want to see also


